Machine Shed Restoration
Page number 116 of the Charles Elbert Compher farm ledger dated 1938 contains a rudimentary plan for the construction of a machine shed. This shed would be attached to the barn that was reconstructed in 1929 after being destroyed by a tornado. The dimensions for that shed were listed as follows:
36 feet long
6 feet height of eves
12 feet high in front
16 feet sides
20 rafters, 20 feet long 2 x 5 inch
20 lath 36 feet long, 1 x 4 inch
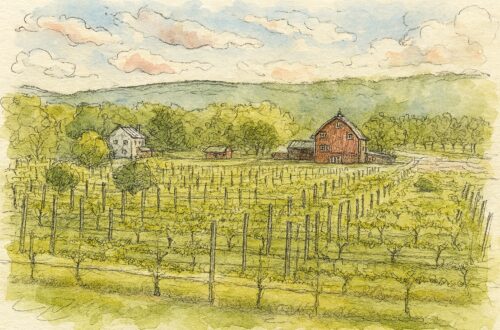
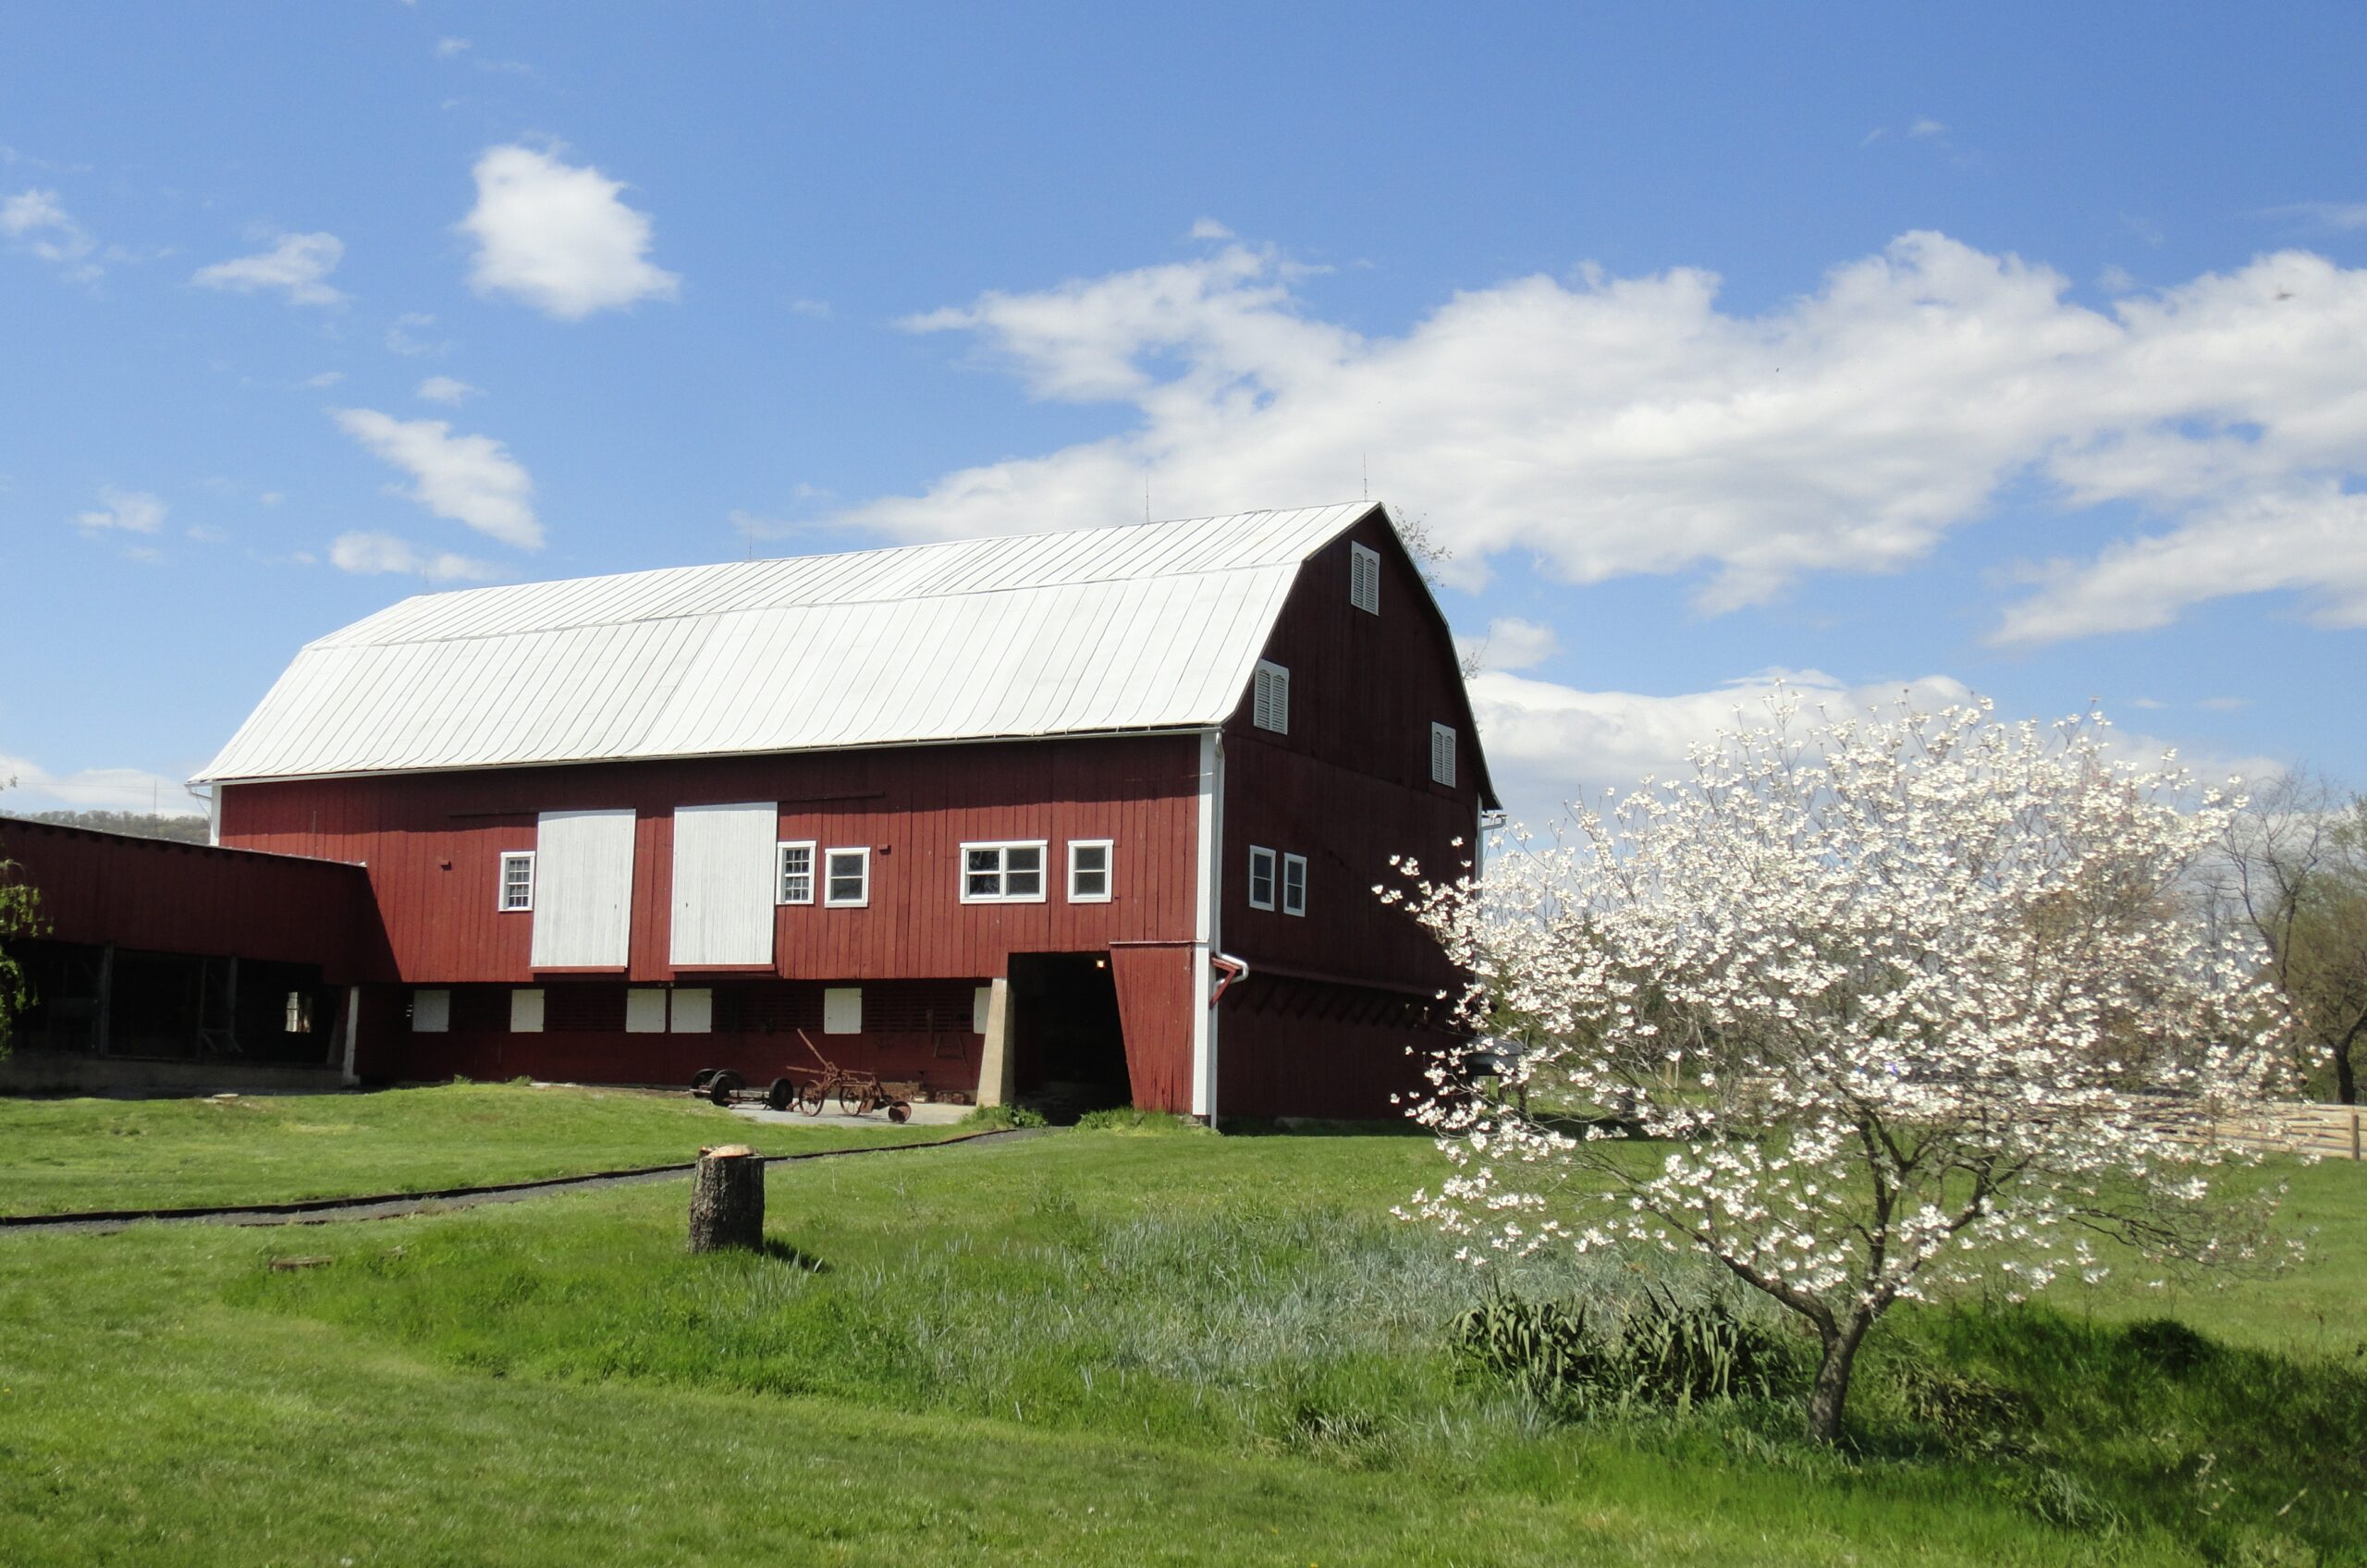
That shed still stands attached to the bank barn at Hiddencroft Vineyards. The years and exposure to weather however, have taken its toll on those materials. In 2023, eighty five years after its inception, it became apparent that major repairs were needed if that shed was to survive.
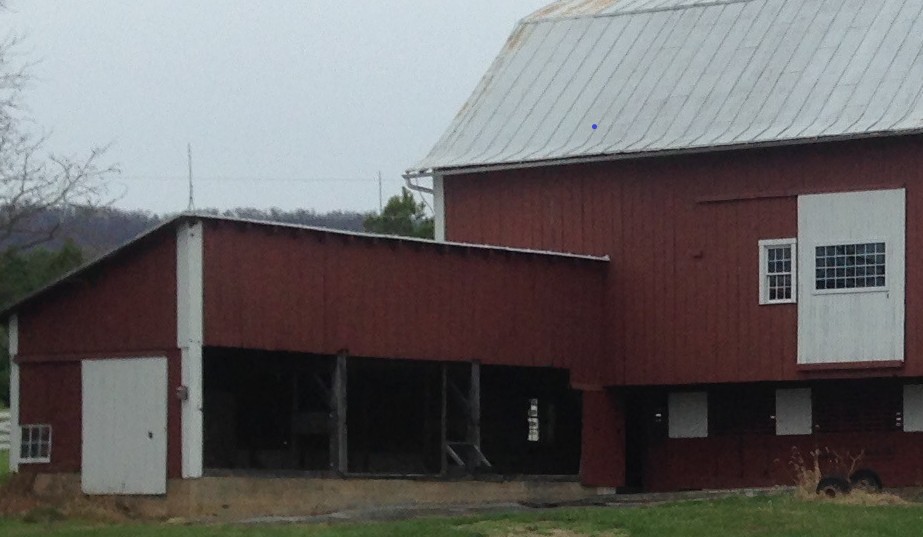
Machine Shed attached to barn “Before Restoration”
The foundation of the machine shed, having been constructed of concrete, was still sound. It rises 24 to 18 inches above ground level to compensate for the slope of the land and is 6 inches thick. A 6 x 6 inch ledger board rests on the top of the foundation and provides support for posts and joists supporting the roof and walls. The original ledger board was severely rotted and in need of replacement. It was also obvious that the partially rotted posts would not support the roof much longer.
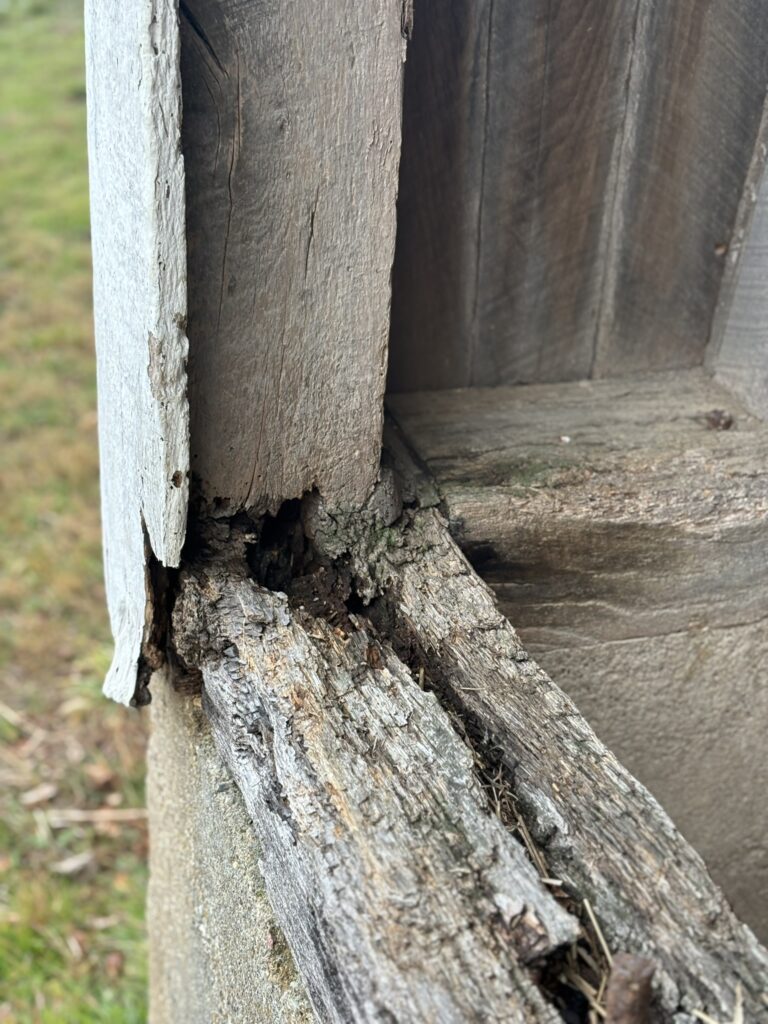
Rotted Ledger Board
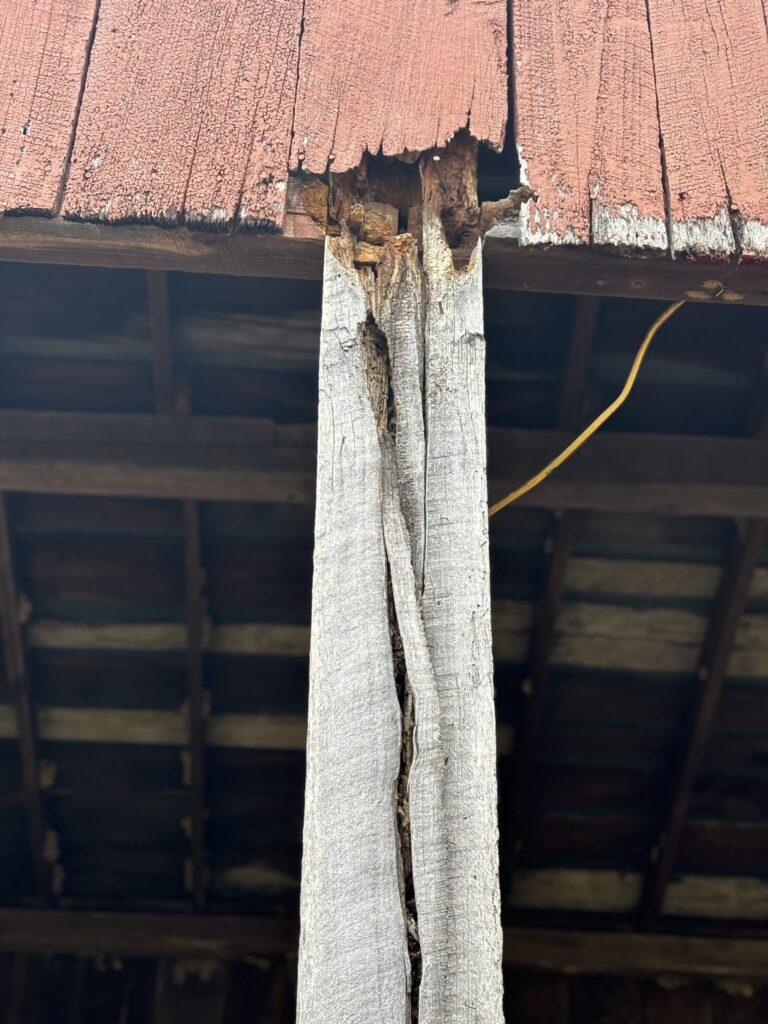
Rotted Post
The original front of the machine shed had been closed off by wood siding possibly with windows to provide light, however that siding had long since succumbed to the elements leaving the entire lower front of the building open to invading wild birds and animals. A family of vultures had taken advantage of this access to the entire lower portion of the barn and established an annual nesting site in its abandoned interior. My first close-up encounter with the birds came when one day I opened a door to that dark interior and was greeted with a loud incessant hissing at my feet. My first thought was “blackstake” a large non-poisonous reptile long known to inhabit this space. Upon shining a flashlight at the noise by my feet I however discovered two fat fluffy baby vultures protesting my presence. Having never-before encountered baby vultures up close I was both amused and enchanted. This enchantment however wore off quickly when I witnessed the long nesting period involved. “Failure to Launch” is an appropriate phrase since baby vultures hatched in early spring don’t develop flight feathers until late summer or early fall.
With the realization of the need to restore this 1938 machine shed, due to the rotting framing and the need to relocate the vultures nesting site, I decided to embark on this restoration project.
The Plan:
The first step was to determine the scope of the reconstruction and draw up plans for its construction. I would obviously have to replace the rotted ledger board with some new 6 x 6 pressure treated lumber and shore-up the rotted posts also with new 6 x 6’s. I decided not to try to remove the partially rotted load bearing posts, but rather to fasten the new posts to the old ones using 10 inch lag screws.
Once the new ledger board and support posts would be installed I would be able to fasten the vertical 2 x 4 studs in between. I would then fasten horizontal 2 x 4 nailers to the vertical studs at 4 feet intervals. The horizontal nailers would provide a surface with which to attach vertical siding for the finished outer wall. To provide some light to the interior I would frame-in three 3 by 5 feet single hung windows.
Framing Plan
The Framing:
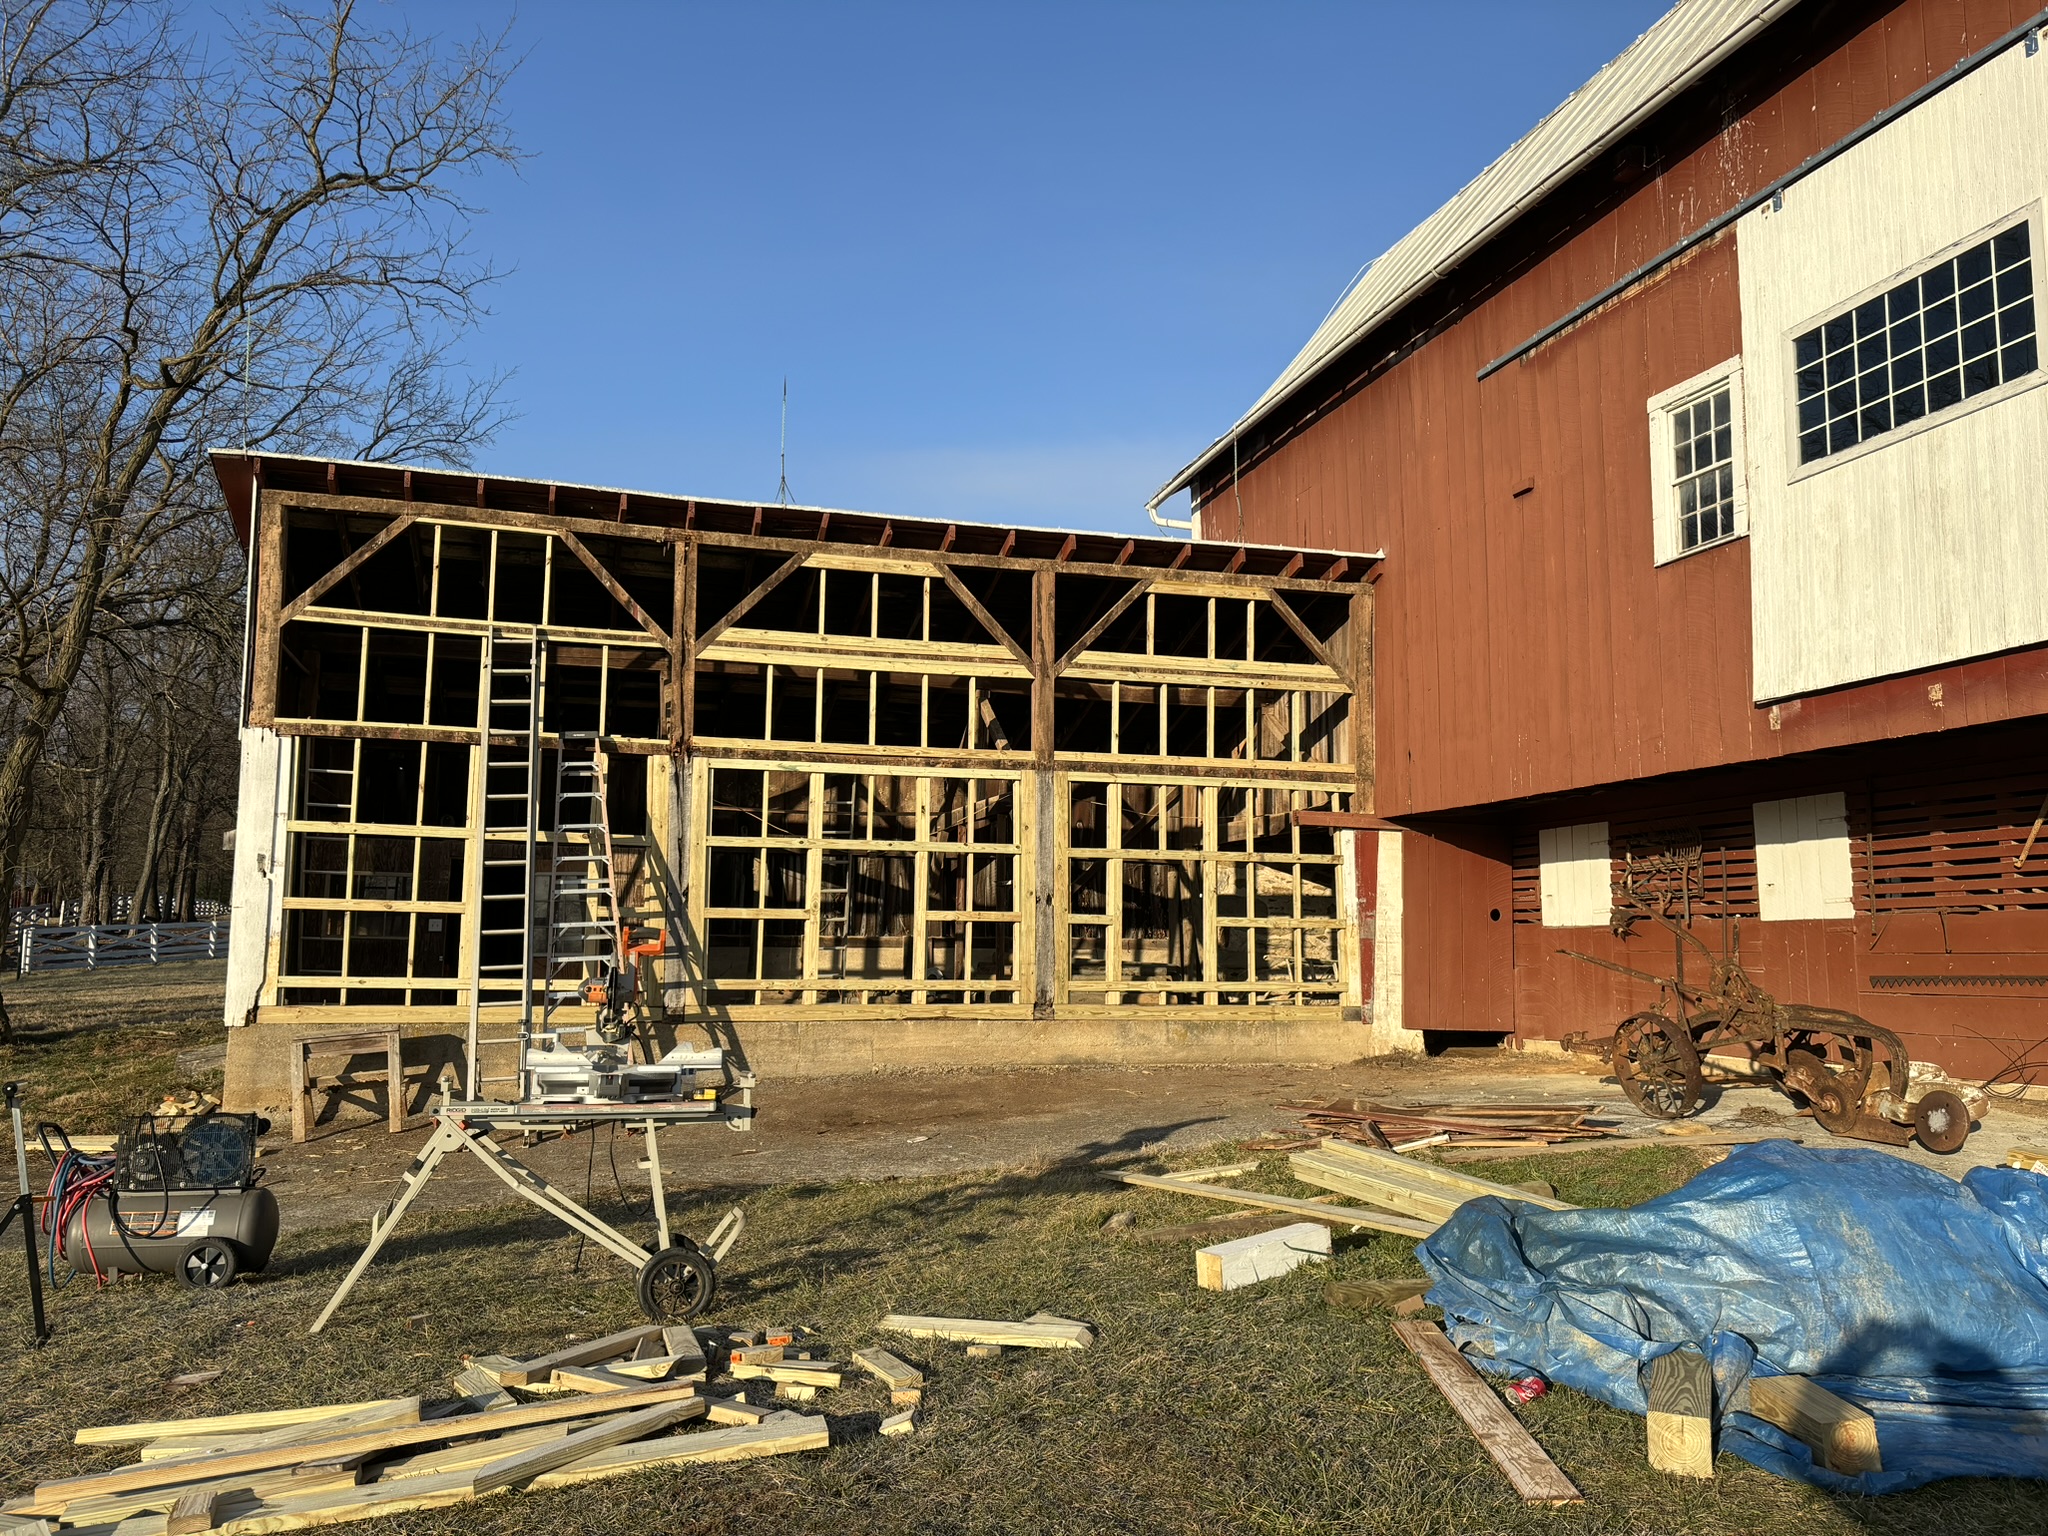
With the plan in place and the materials ordered and delivered it was finally time to start construction. With the help of my tractor forks I easily removed and disposed of the rotted ledger board. Fitting the new 6 x 6 ledger board to the stone foundation was not so easy since it required some careful measuring to drill holes in its proper location. Those holes (two on each of the three sections of ledger board) would receive iron rebar spikes protruding from the top of the concrete footer wall. This rebar holds the ledger firmly in place atop the foundation. Once again with the help of my tractor I was able to lift the new 6 x 6 posts in place. I temporarily strapped them to the existing posts and joined them with 10 inch lag screws. With the posts and ledger in place I was then able to complete the joist and nailer framing, up to a height of eight feet, by myself. Since I fell out of an apple tree Terry has banded me from performing any high ladder work. So, as soon as work in the vineyard ended for the season I was able to employ my vineyard crew to remove the old barnwood siding and complete the remainder of the carpenter work beyond my reach. In just a few days we were able to complete the framing up to the roof line (a height of about 17 feet).
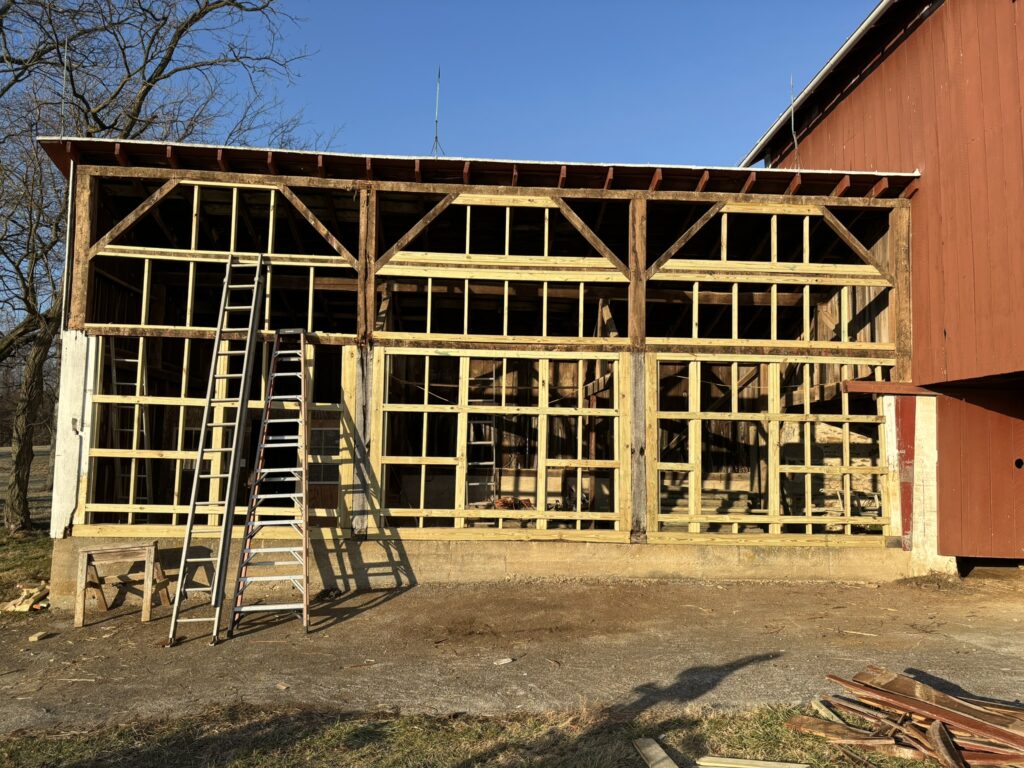
Nearly finished framing of Machine Shed
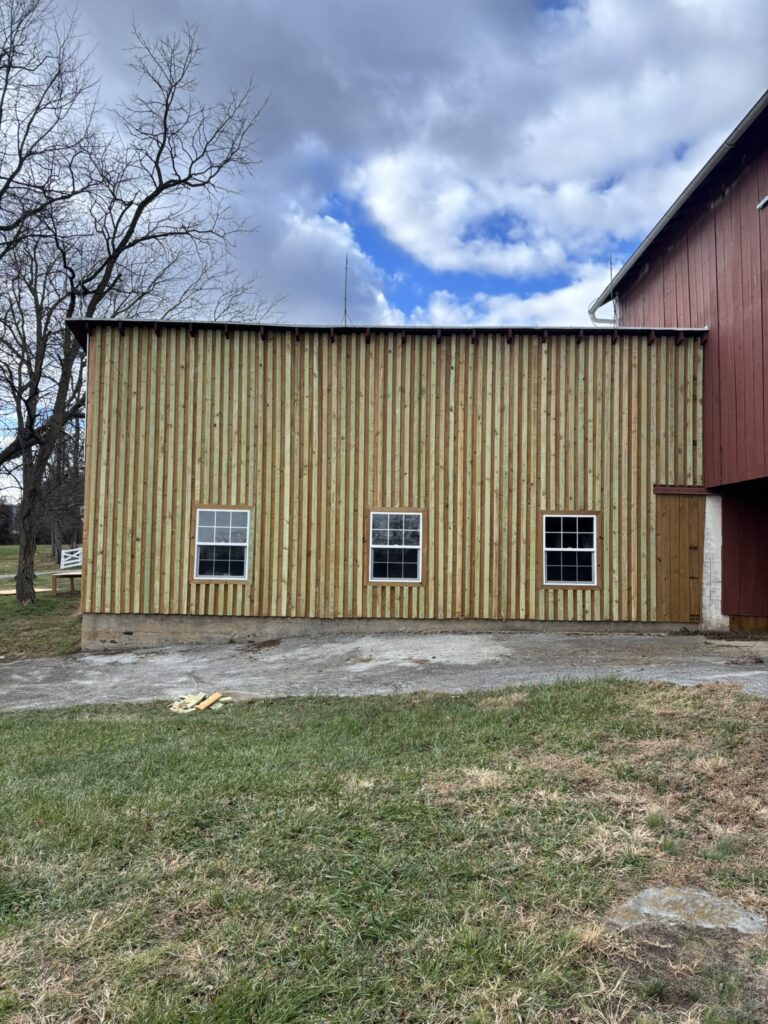
The Siding:
The original barn board siding was one inch thick eleven inch wide boards with one half inch gaps between each vertical board. I chose to use one inch thick, six inch wide, sixteen foot long pine fence boards as replacements since they were locally available. To ensure a weather tight exterior we nailed three inch wide batten boards over the joints of each six inch siding board. The final step was to install the single hung windows and frames.
© 2025 Clyde F. Housel. All rights reserved.
This article may not be reproduced or distributed without written permission from the author.